Please watch the following three videos on Form Builder.
These will run you through the Form Builder on a basic level, Form Settings and the Form Notifications tab
How to build Form Templates (6:36)
All about Form Settings (5:57)
Form Notifications (2:06)
Also please see our articles on Form Display Conditions and Viewing Responses to Assigned Forms for more helpful videos
If you still need assistance then please keep on reading...
Index:
Inductions and Assigning Forms
Form Notifications & Display Conditions (Post Save Features)
Form Preview and Finalising your Form
Creating Form Templates
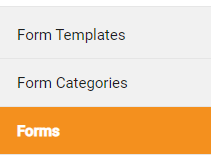
To access this new feature please go to the Forms dropdown on the left hand side
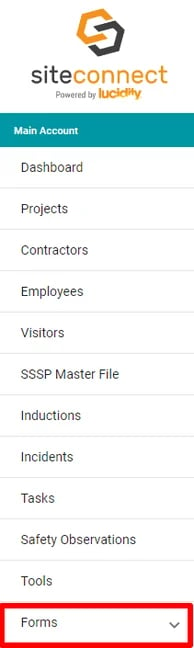
You will then see the following options:
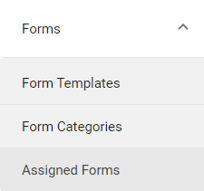
- Form Templates- create new form templates
- Form Categories- add and see all of your form categories
- Assigned Forms- see all forms that are assigned and are not Templates
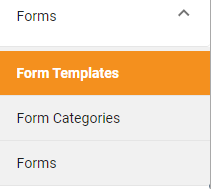
Creating Form Templates
Click the Form Templates drop down option on the right hand side to bring up the following menu.
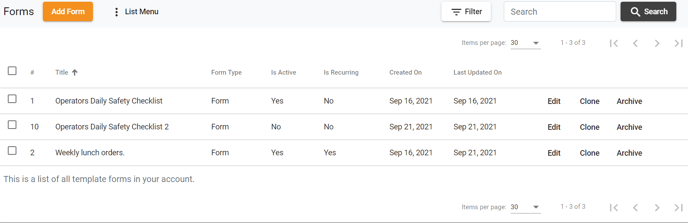
This will show you a list of all of your Form Templates you currently have. To add a new Form click Add Form up the top.

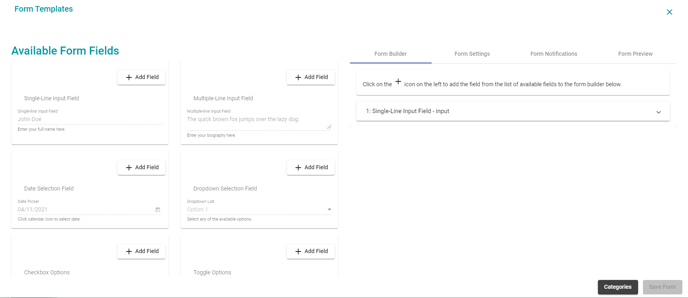
This will bring up the following Form Builder tool:
The following two fields are also visible if you scroll down.
You will see the Available Form Fields on the left and the actual layout of your current form on the right.
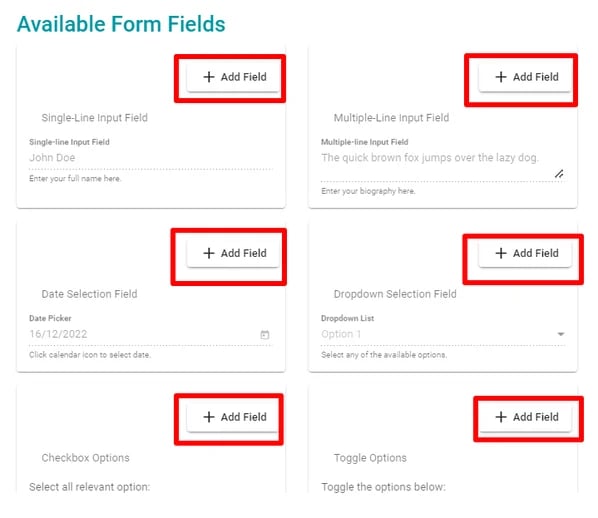
To add a field to your Form click the + icon on the field you wish to add.
Once you have added your field it will appear in your Form layout on the right.
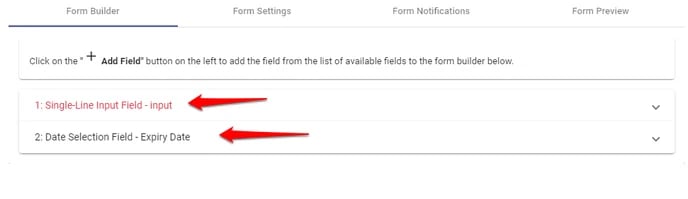
Please note: you will have the Single- Line Input Field- input field in your form by default.
You will also be able to drag these added fields around on the left to reorder them if you wish.
The Field options that you can choose to add to your form are as follows:
- Single Line Input Field- User can add a single line to the form e.g. a name (this is added to the form by default)
- Date Selection Field- users can select a date
- Checkbox Options- Users can select from a series of relevant multiple choice options by ticking them
- Radio Options- Users can one of the multiple selectable options by clicking the circle
- Multiple Line Input- Users can fill in multiple lines (longer version of single line input)
- Dropdown Selection Field- Users can select available options form a dropdown menu
- Toggle options- Users can toggle multiple options on and off
- Text Paragraph- You can write a paragraph of text for the Users to read.
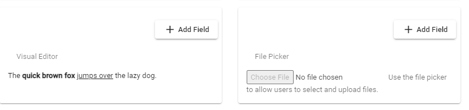
- Visual Editor- Similar to Text Paragraph however you can add images, links, tables and media including video links
- File Picker- Add this field to allow Users to upload their own files.
- Signature - Add this field to obtain signatures.
Editing Fields/Properties
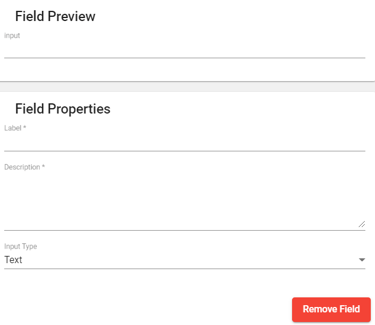
Once you have added all of your required fields you will see these in your Form on the right hand side. You can then click any of the fields in your form which will bring up a dropdown where you can edit them.
Each field will have different aspects to edit when they are expanded. Each field will have a Field Preview up the top where you can see what the filed will look like.
- Single Line Input- Can fill in a Field Preview Description and Field Properties where you can fill in a Label, description and Input Type.
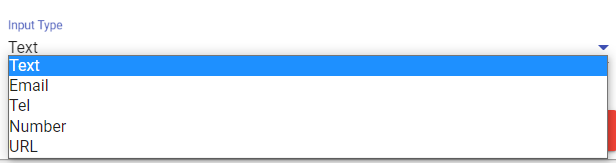
You can select from the following options for Input Type.
- Date Selection- In the Field Preview you can play around by clicking the Calendar icon and see how the users would select Dates within this field.
You can then select the Field Properties which are Label, description for the users to see and the Date Selector Ranges that will be available.

You can pick the following options for your Date Selector Ranges.

- Checkbox Options- you can fill in the label, Description and the fields that the users will choose from.
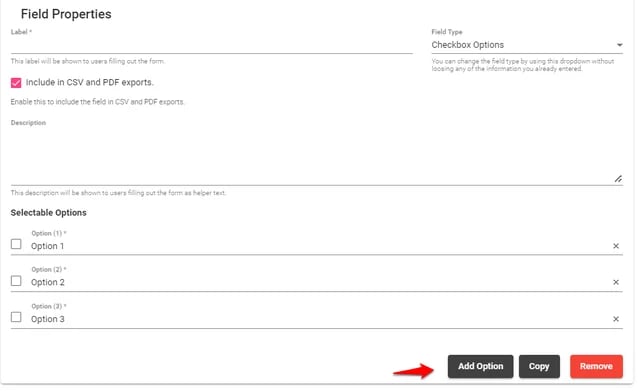
You can also Add Option to add more choices for this part of the form. You can also click the X icon on the right hand side to delete the option.
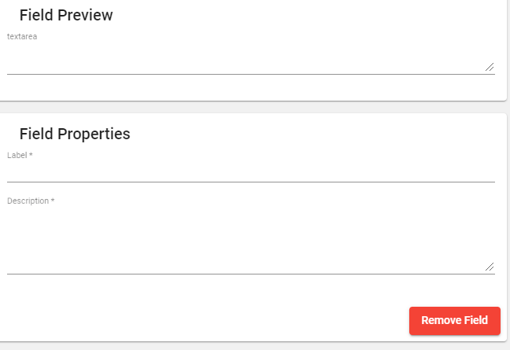
- Multiple Lane Input- You can fill in the label and description of this field and Preview the text area on the top.
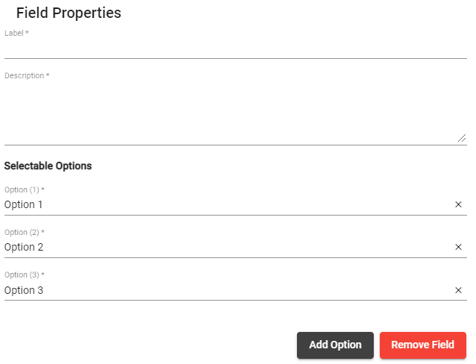
- Radio Options- you can fill in the label, Description and the fields that the users will choose from (similar to Checkbox field). You can also Add Option's and see a preview of the options up the top of this dropdown.
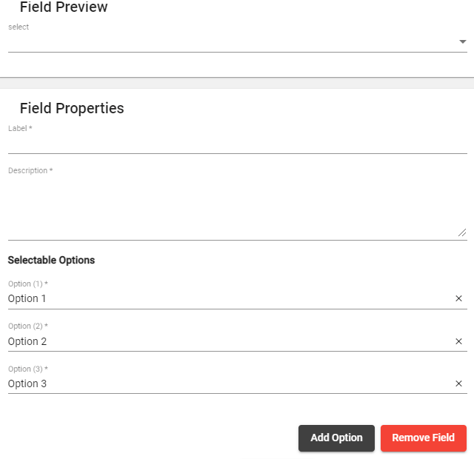
- Dropdown Field- Can fill in Label, description and the Selectable Options that the USer can choose from when they click the dropdown text. You can see the Preview up the top as well for how this would work.
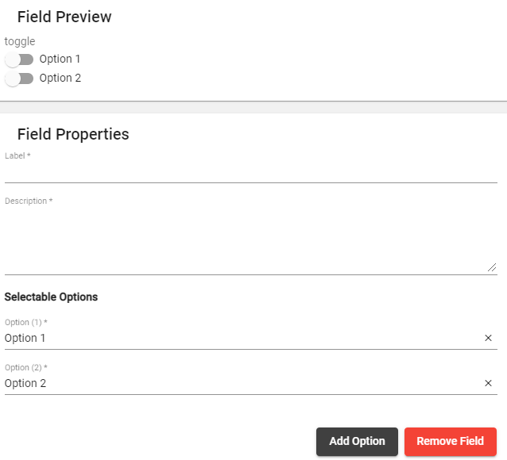
- Toggle Options- Can fill in Label, description and the Selectable Options that the User can choose to toggle on and off. You can also Add Option's and delete options by clicking the X icon on the right of them.
You can see the Preview up the top as well for how this would work. You can also Preview these options up the top.
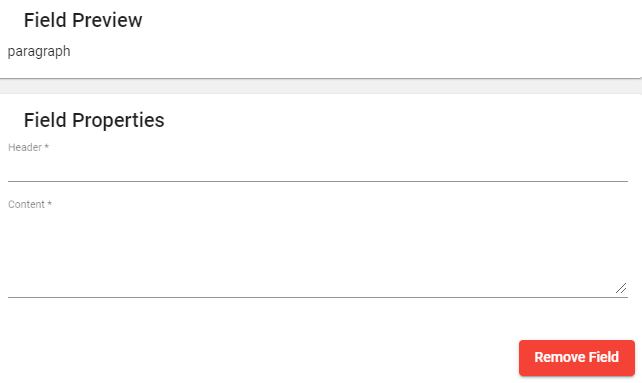
- Text Paragraph- Can fill in the Header and Content of the paragraph
With any of these Field options you can also click Remove Field down the bottom to remove the field from your form.
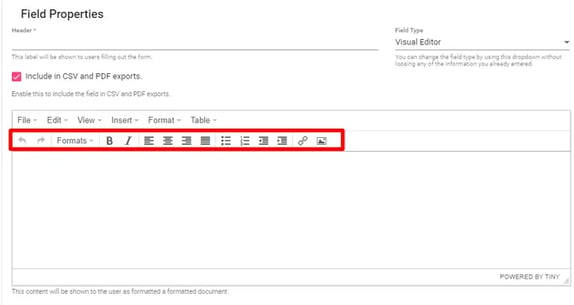
- Visual Editor- Can fill in the Header (required) and insert tables, images, links, videos, change fonts etc.
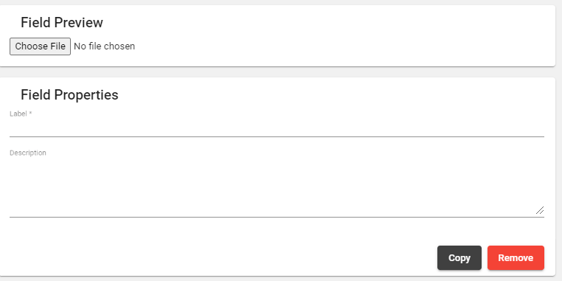
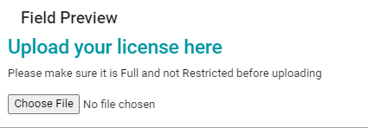
- File Picker- fill in the label and description, Choose File button in the Field Preview is what the User will see in the form (not where you upload files yourself).
Form Settings
Once you have filled in your required fields, go to your Form Settings by clicking the highlighted tab.
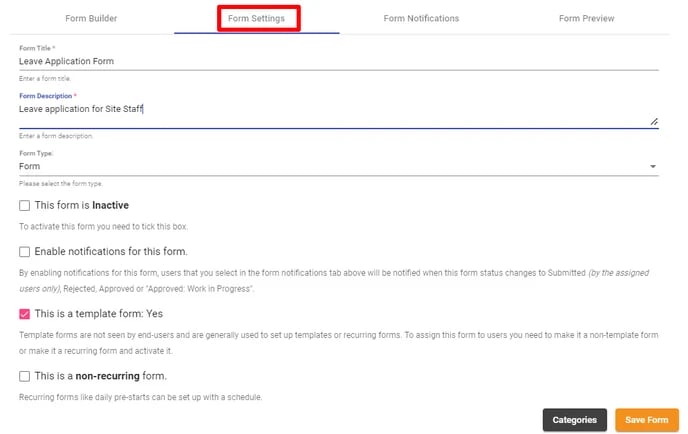
From here you can fill in the Name of the form, a Form Description and the type of Form (can choose from Form or Site Induction.
You also need to go through the following options:
- Inactive or Active- Active forms will be able to be sent to Users or will be activated at a later date. Inactive forms will not be activated.
- Enable Notifications for this form- you can tick this on and off to enable notifications that will be sent to users specified in the Form Notifications option up the top when a User submits answers to this form.
- Template Form : Yes or NO- Template forms are not seen by end-users and are generally used to set up templates or recurring forms. To assign this form to users you need to make it a non-template form or make it a recurring form and activate it. You will see the auto assign options appear when you untick this option.
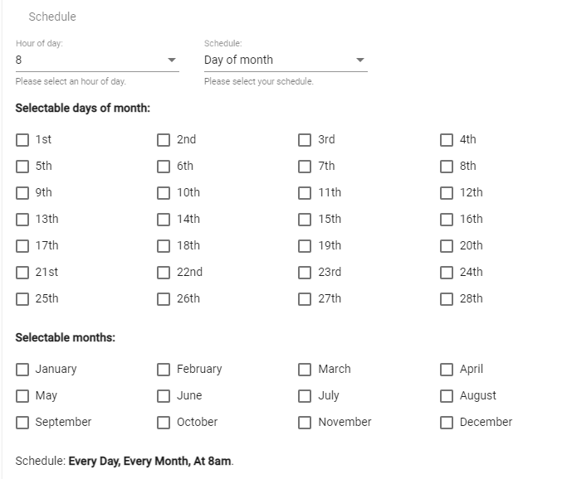
- Recurring Form- Recurring forms like daily pre-starts can be set up with a schedule. When you toggle this option on, you will be able to set up a recurring schedule for this form e.g. this form will repeat weekly on Tuesdays at 9.30am.
Site Inductions and Assigning Forms
If you select Site Induction as the Form Type (or untick the Template option in a normal Form), you will receive these options below:
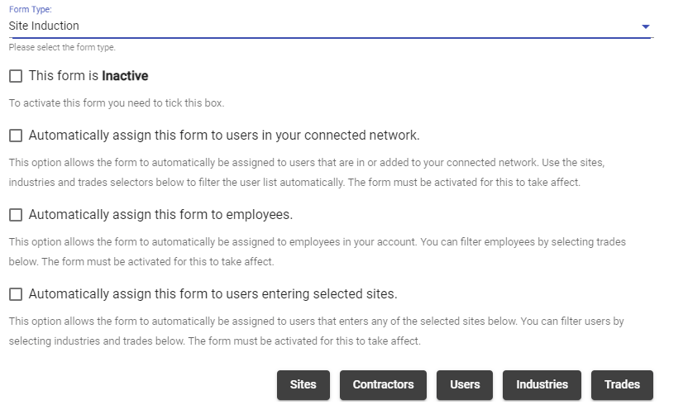
You can choose to Activate the form by ticking the top option and auto assign the form to users in your connected network, employees or users entering selected Sites. Then you can filter/narrow down this selection with the Sites, Contractors, Users, Industries and Trades buttons down the bottom.

Click either one of these options and tick/search for the ones you want to assign the form to.
Please note that this induction will not be auto assigned under any of these settings until it has been made Active much like the standard Form type.
Once all of your Settings have been completed, you can then Save your Form.
Form Notifications & Display Conditions (Post Save Features):
Once you Save your Form the following features will then become available for you for further editing:
- Form Notifications- the Form notifications tab will now show a User selector whereby you can select who gets a notification when a User submits answers to the form.
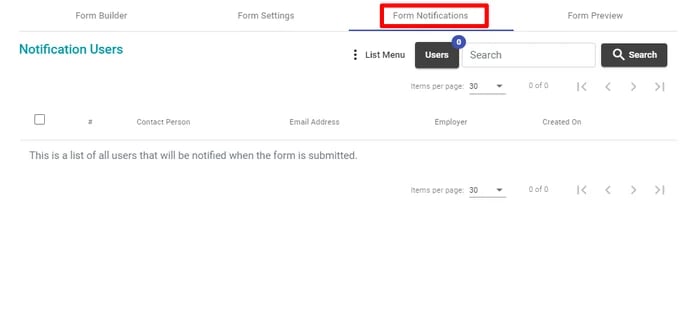
Click Users up the top then select the users you want to receive the notifications by ticking them.
Your Users who will then receive notifications will then appear in this list whereby you can choose to Delete them as well if you wish.

These Users will now receive notifications whenever someone submits answers or a response to this Form.
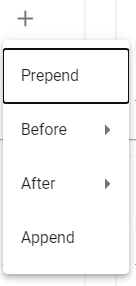
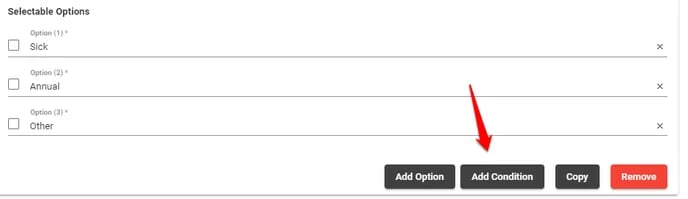
- Add Condition will now also be visible the bottom of each field when you expand each form field in the Form Builder. This will allow you to set behaviors for fields such as hiding certain fields depending on the answer that the User gives/option they select in previous fields etc.
For more detail on this feature please see this article.
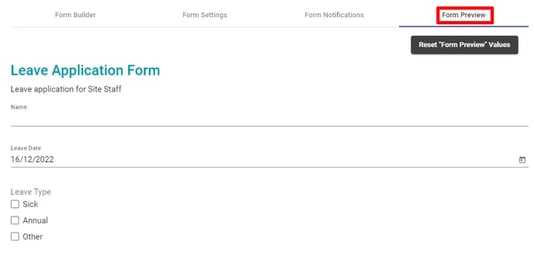
Form Preview and Finalising your Form
You can also click on Form Preview at any time if you wish to view the completed form you have created so far.
You can then go to the bottom of the Form Builder and select the Categories that this Form belongs to and then click Save Form
![]()
You can see more about Categories here.
Once you have Saved your form it will appear in your Form Templates list where you can choose to Edit your form further, Clone your form and Archive your Form which will deactivate the form.

This will only appear in this Templates list if the Form has been marked as a Template form in the Form Settings menu upon its creation.

If this has not been marked as a Template then this will appear in the Forms menu on the left hand side. In this Forms list you will still be able to edit and assign the form.
You will also be able to View Responses (if it has been assigned), see the number of assigned users, whether it is Active or not and Clone/Archive the form.

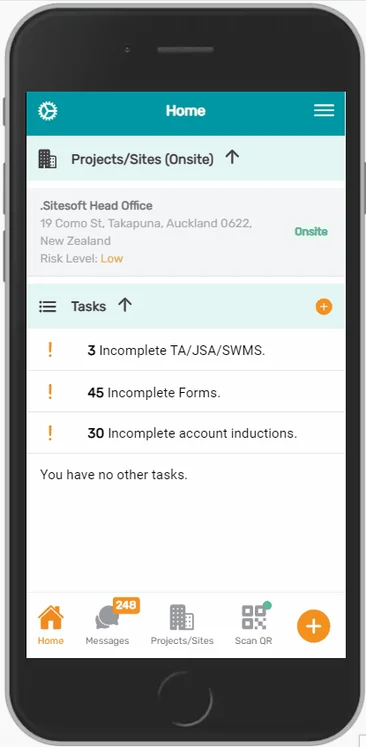
Any forms you set up can be completed by assigned users in both the web portal and the SiteConnect mobile app by clicking the below prompts in their profile.
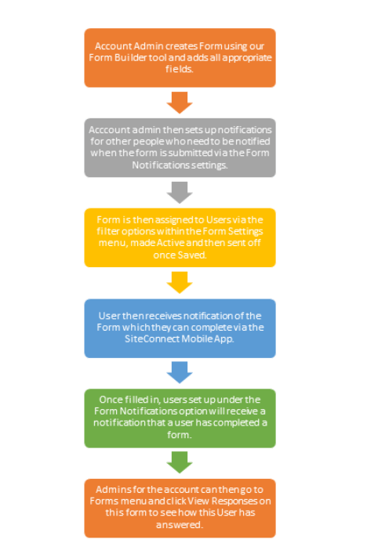
Here is the general process as to how a Form is processed and assigned within the Site Connect system.
Next, please see the following article on Form Categories and Assigned Forms.
If you need any further help or have any questions please contact the support team by Email: support@siteconnect.io or Ph: 0800 748 763