Index:
- How to create a Toolbox Talk
- Adding attendees to your Toolbox Talk
- Digital Signatures for Toolbox Talks
- Adding media to your Toolbox Talk
- Saving your Toolbox Talk
Please watch the following video on how to manage logged Toolbox Talks within the Web Portal
Managing Toolbox Talks (2:23)
If you need more assistance then please keep reading...
Email notifications for Toolbox Talks that are created are sent to the attendees of the Toolbox Talk and the person who created the Toolbox Talk. The notification includes a PDF of the Toolbox Talk. These notifications are NOT sent to Site Managers or Account Admins.
To create a toolbox talk you need to click on Projects on the left-hand side of the main menu. Once you have clicked on Projects you will be presented with a list of projects/sites that have been added to the software. Choose the project/site you wish to create a toolbox talk for and click on Edit.
.webp?width=688&height=121&name=Edit%20project%20(2).webp)
You can drill down to individual sites underneath these projects as well if these have been set up by clicking Sites for the specific Project
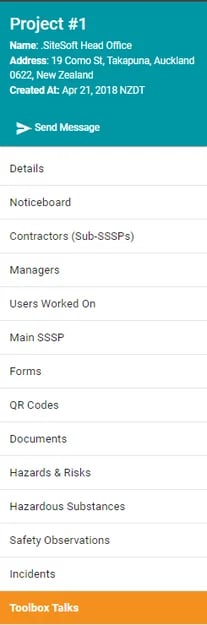
This will take you to the project/site you have chosen. The name of the project/site will show at the top with a list of tabs below it. Choose and click on the Toolbox Talks tab.
The next screen will give the option to create a New Toolbox Talk. Click on this button.

Naming and creating an agenda for your Toolbox Talk
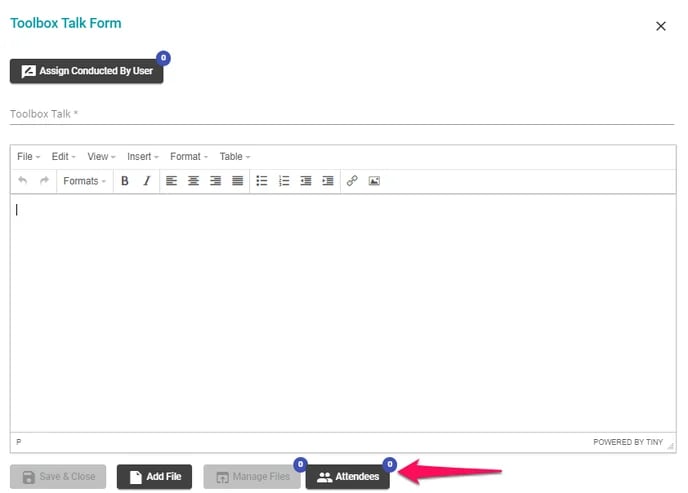
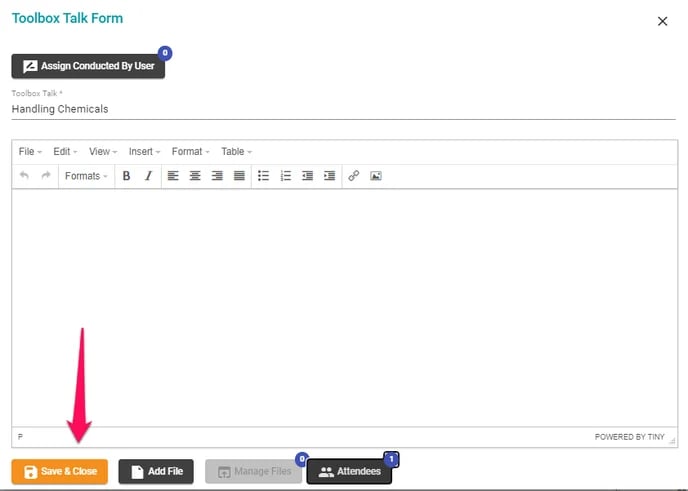
This will open a new dialog window where you can enter the name and agenda of the Toolbox Talk.

- Click on the Toolbox Talk heading to enter the name of your Toolbox Talk
- Click on Agenda to enter the items on the Agenda for the Toolbox talk.
Adding Attendees to the Toolbox Talk
Click on Attendees to list the name of the personnel attending the Toolbox Talk
A list of all users connected to your network/project/site (including visitors) will display showing those who are currently signed into site first with a 'Yes' to the right of their name followed by all other users. You can also scroll to find the relevant person or search for them via the search bar at the top of the page. Click in the square box to the left of their name to add them as an attendee. Once all attendees have been selected click on the 'select' button.
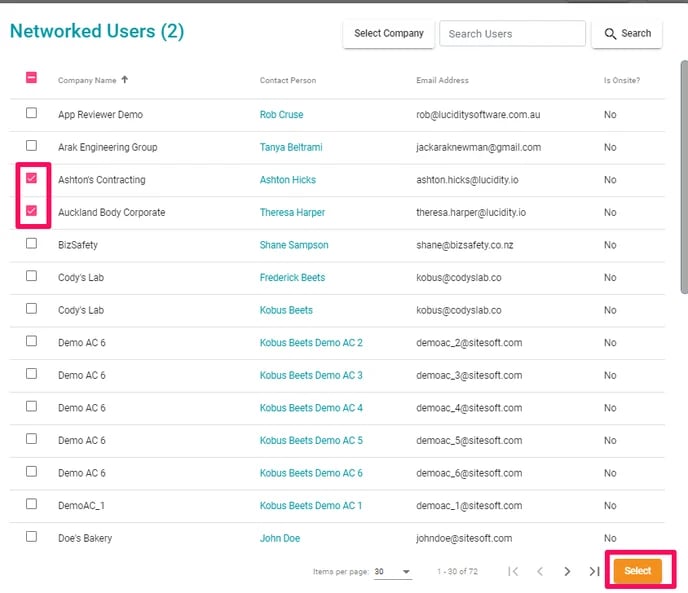
Once you click on Select this will take you back to the toolbox talk dialog box and the number of attendees will be recorded against the Attendees Tab.

Digital Signatures for Toolbox Talks
(available in Version 3.4.2 of the SiteConnect App or higher)
Need to update your SiteConnect App? Android Devices or Iphone Devices
Toolbox Talk attendees have the option to sign that they have attended a Toolbox Talk.
When a user is selected as an Attendee they will be sent a Push Notification (notifications need to be enabled) advising that there is a Toolbox Talk record to sign. A notification will also display in the Tasks Section on the Home page of the App.

Click on the link to open the Signature Field. The User can either draw their Signature or take an Attendance Selfie. The user needs to click on Use Signature once they are happy with the signature. The user can also clear their signature and start again if need be.

Attendees can also Sign on a Site Manager's device. To do this the Site Manager needs to go to the Attendees Field of the applicable Toolbox Talk and they will see a list of attendees with the tab Sign to the right. Click on this tab to open up the Signature Field for the applicable user.

The user can sign their Signature or take an Attendance Selfie.

Attendees can also sign via the Web Portal but only if an Administrator is logged in. To do this the Administrator needs to open the applicable Toolbox Talk and click on View.

Go to the list of Attendees and click on Sign next to the applicable User's name. A dialog box will pop up with a Signature box for the User to sign in.

Exporting Toolbox Talks
Toolbox Talks can be exported into a PDF document via either the App (all attendees) or the Web Portal (Administrators only).
Web Portal
To export a PDF copy of a Toolbox Talk from the Web Portal (Administrators only) to the relevant site and click on the Toolbox Talks tab. A list of Toolbox Talks will open. Click on Export PDF to the right of the applicable Toolbox Talk.

To export a Toolbox Talk from the App locate the applicable Toolbox Talk through the Site Tab

Once located, open the Toolbox Talk and click on the Export option at the top of the screen.

The Toolbox Talk PDF export will include copies of the Signatures and the date signed and pictures of the Selfies obtained.

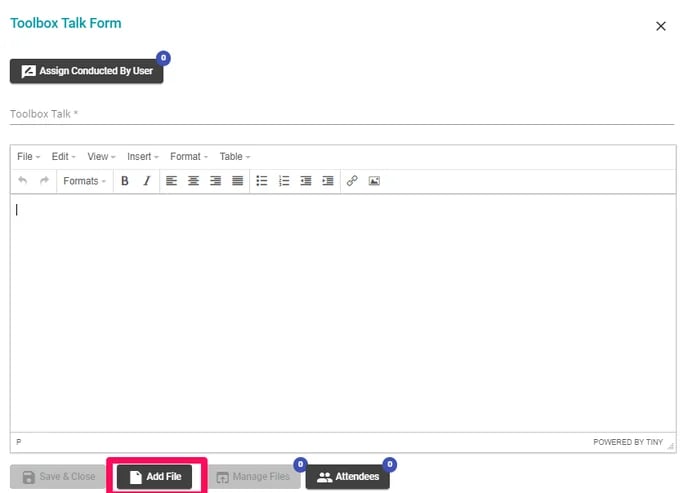
Adding Media to your Toolbox Talk
You can upload supporting files for your Toolbox Talk by clicking the Add Files button and uploading files.
The following file types and photo formats are permitted:
doc, pdf, docx, zip, jpg, jpeg, bmp, png, gif, heic, heif, hevc, xls, xlsx, eml, csv, txt, mp3, m4a
Saving your Toolbox Talk
Once you have named your toolbox talk, recorded your agenda, added your attendees and any media/files then click on the Save & Close button
If you need any further help or have any questions please contact the support team by at email siteconnectsupport@sitesoft.com or Ph: 0800 848 763