Please watch the below video on how to add company documents to your account so that you can access them at any time
Adding Company Documents (2:08)
Please also scroll down this article for further information...
Email reminder notifications for expiring account-level and site-level documents will be sent at the following intervals: 28 days and 7 days before expiry, on the day of expiry, and again 7 days and 28 days after expiry if the document has not been updated.
These notifications will be sent to the individuals assigned through the Notification Roles feature.
In your SiteConnect web portal go to the Templates drop down on the left-hand side menu, then select the Documents option
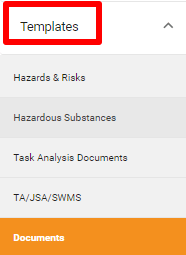
Then click Add Folder on the following screen .

From here type in the name of the Folder and select the Folder type from the below list:
- Certificate
- Instructions
- Insurance
- Log
- Manual
- Meeting
- Minutes
- Permit
- Plan
- Policy
- Procedure
- Record
- Report
- Training
- Other
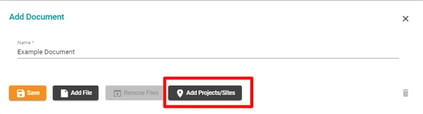
You can then upload the file(s) via the Add File button. You can uploaded as many documents to a folder as you like.

You can add a Project/Site to assign this document to if it is applicable.
Once you have added a file, the Remove Files button will become available so you can delete the file if it is no longer relevant
You can also delete the document and start over by clicking the bin icon on the bottom right-hand corner.

Once you have filled in the Document name and have added the right files you can click Save to finalise the document.

This will then appear in your Documents list with the option to View, Edit or Delete the document.

Viewing the document will bring up all of the relevant details and give you the option to downloads the file(s) associated with it by clicking on them.
Please note: The maximum file size allowed is 24MB

Editing the document will bring up the same Document Form as before where you can edit the document title and add/remove files.
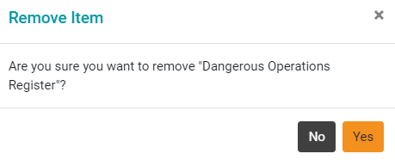
Deleting the document will give you the option to remove the Document entirely from this list.
-
If you need any further help or have any questions, please contact your regional support team:
- New Zealand (NZ):
📧 support@siteconnect.io
📞 +64 800 748 763 - Australia (AU):
📧 support@siteconnect.io
📞 +61 1300 637 183 - United Kingdom (UK):
📧 support.uk@siteconnect.io
📞 +44 333 043 5727
- New Zealand (NZ):