Index:
- How to create a message
- How to view the message once sent
- How to filter your messages
- How to dequeue the message
- How to delete the message if still in draft format
- How to send a message to an employee
Please watch the following video on how to Create & Send Messages via the SiteConnect Web Portal:
Create & Send Messages (7:00)
If you still require assistance after watching then please keep on reading...
All messages sent within SiteConnect will be saved in the Messages Tab in the main menu
How to create a message
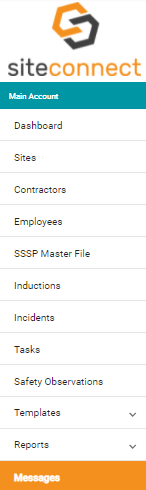
Go to the main menu and click on the Messages tab.
Click on Compose Message

A dialog box will appear. In this dialog box you can compose a message:
- Select the message type - Email, Push notification or SMS (SMS needs to be enabled for your account - if not enabled contact Support)
- Select the message priority - low, normal, high or critical
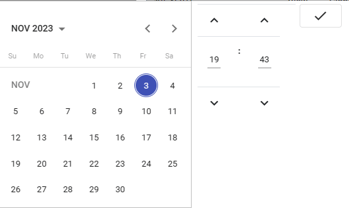
- Schedule to send later - click on the calendar icon to schedule for a later date if required. Select the date and time that you want to send it and click on the ‘tick’.
- Subject - enter your subject title
- Main body - enter the content of your email
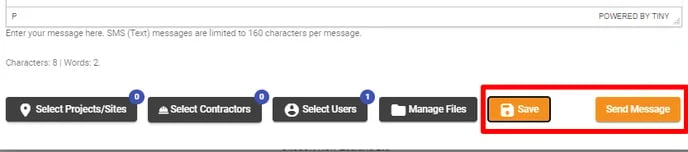
- Attach files - you can attach a file(s) to the message
- Link to websites - click on the link icon to link to a website.


Once you have populated all the required fields the ‘Grey Save’ button will turn ‘Orange’. Click on this and then the ‘Grey Send Message’ button will turn ‘Orange’. Click on ‘Send message’ even if you have selected a date in the future and the system will queue it to send at the date and time you have selected.
If you don't want to send the message at that time do NOT click on 'Send Message' and the message will be saved in draft format for you to review at a later date.
The message will be sent as either an email, push notification or SMS text (if you give SiteConnect the Authority to turn SMS text on) depending on what selection you have made. It will also be recorded in the Messages Tab and sent to My Messages on the Web Portal and the Mobile App.
How to send messages to multiple Users or Contractors
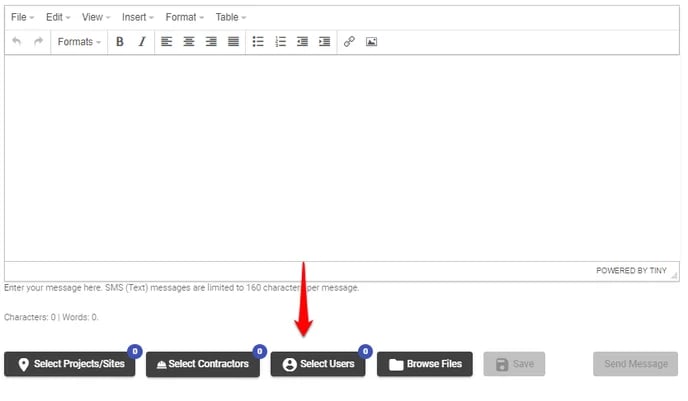
To send to multiple users click on ‘Select Users’.
Then click in the box to the left of the people you want to include in the message and click on ‘Select’. At the top of the page on the left you will see how many users you have selected which in this case is ‘4’.
.webp?width=674&height=165&name=Select%20Users%20(1).webp)
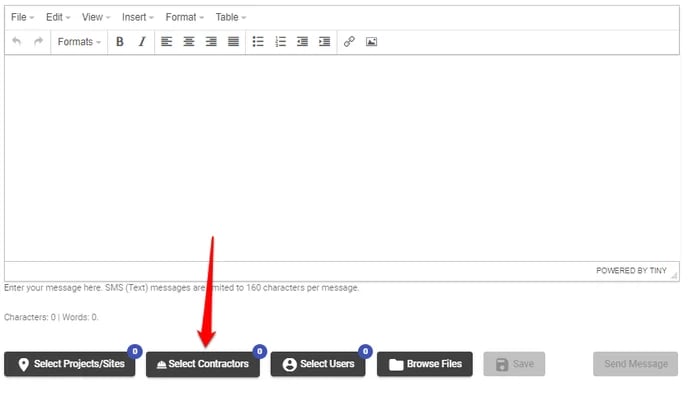
Or you can click on ‘Select Contractors’.
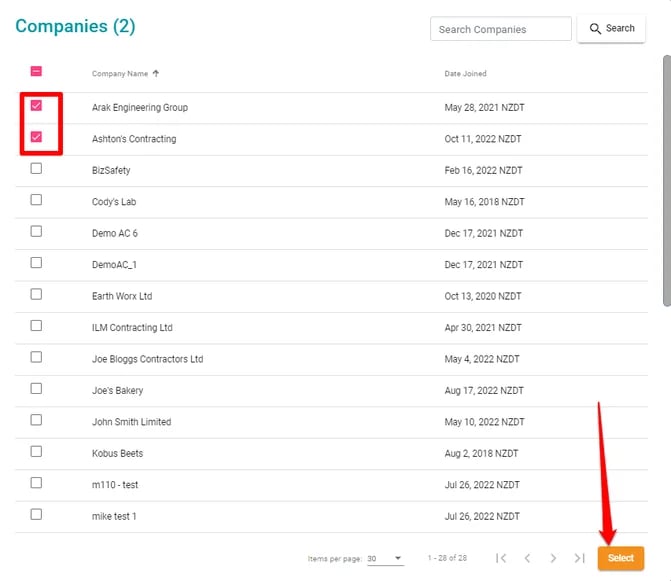
Then click in the box to the left of the companies you want to include in the message and click on ‘Select’. At the top of the page on the left you will see how many companies you have selected which in this case is ‘3’.
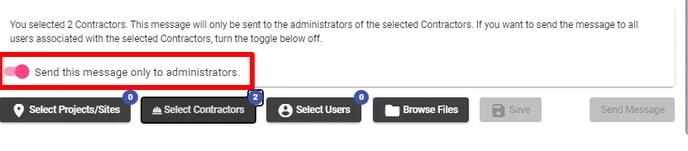
With the companies you can also choose if you want to send it just to the ‘Admins’ of that contractor account by leaving the toggle button turned on (pink) or you can turn if off (grey) and it will send the message to everyone associated with that contractor account.
How to view the message once sent
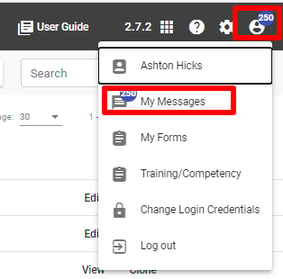
Once the message has been sent you can view it via the Messages Tab on the main menu or within My Messages on the Web Portal.
In the main menu you can click on View to view the message.
![]()
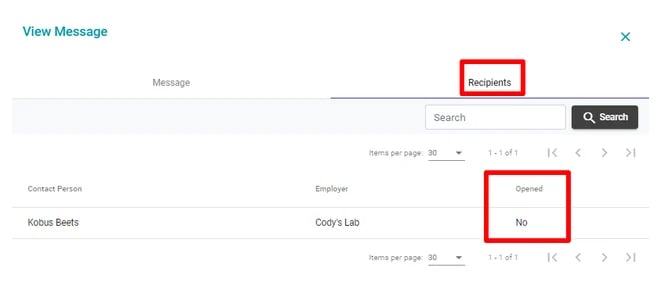
Once in view mode you can view the message and if you click on Recipients you can see who the message was sent to and whether or not they have opened the message within either My Messages on the Web Portal or the Messages Icon on the Mobile App. It will not tell you if the email, push notification or text message has been opened.
You can also view the message within My Messages and see the Recipients but you can't see who has opened the message.
.webp?width=216&height=212&name=Mymessages%20menu%20(1).webp)
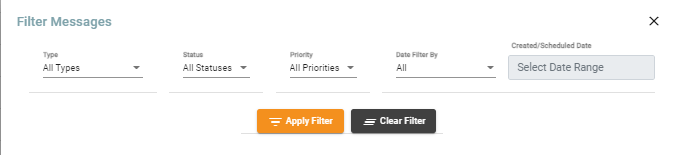
How to filter your messages
You can filter the messages in the Web Portal Messages Tab or My Messages by clicking on the Filter button. Select the filter options and then click on Apply Filter. To clear the filter options click on Clear Filter.

How to dequeue the message
Once you click on send message you have 1 minute to dequeue the message and retrieve it back for further editing or deleting.
To retrieve the message go to the messages menu on the left-hand side of your screen.
Locate the message and click on Dequeue on the right-hand side of your screen.

Once you click on Dequeue you will be asked to confirm if you want to dequeue this message. Once you click on yes the message will be deleted.
How to edit the message if still in draft format
If you have not clicked on send message the message will stay in draft format. If the message is still in draft format you can edit the message by clicking on Edit in the right-hand corner of your screen and edit the message.

How to delete the message if still in draft format
Whilst still in draft format you can also chose to Delete the message by clicking on Delete on the right-hand side of your screen.

Once you have clicked on Delete you will be asked to confirm 'that you want to remove this message'. Once you click on Yes the message will be deleted.
How to send a message to an employee
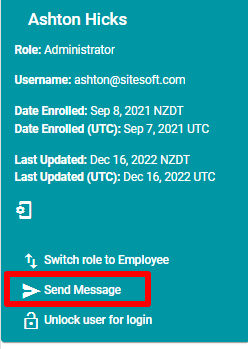
You can send a message to an employee by clicking on the edit button on the right-hand side of the employee's details.

This will open a new screen with the employee's details. On the right-hand side of the screen in the blue box click on Send Message.
Create your message as per the above instructions.
If you need any further help or have any questions please contact the support team by email siteconnectsupport@sitesoft.com or Ph: 0800 748 763