Please note: if the account holder that has requested the pre-qualification has enabled notifications then the main contact person for your account will receive reminders when items are expiring on the day of expiry and 7 & 28 days after expiry.
Index:
- How to complete a pre-qualification request
- Uploading Pre Qualification documents through the Web Portal
- How to download a PDF document of your Pre-Qualification
Please watch the following video on how to log into your Contractor Administrator accounts and complete pre qualifications set for you by your clients
Contractor Admins: Completing Pre Qualifications (5:06)
Please also scroll down this article for further information...
How to complete a pre-qualification request
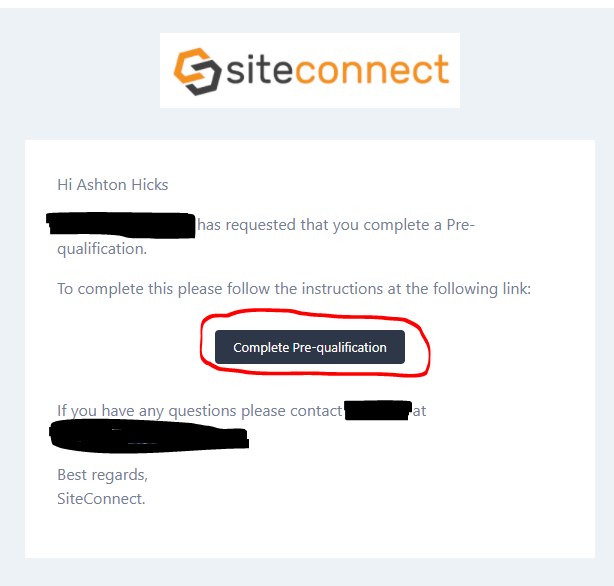
The best way to complete this is to go through the email that was sent to you when this pre qualification was assigned to you. Just click the link in the email:
This will direct you to a screen with all of your Pre Qualification documents you need to submit.
A separate tab will open with a list of the items that you are required to complete.
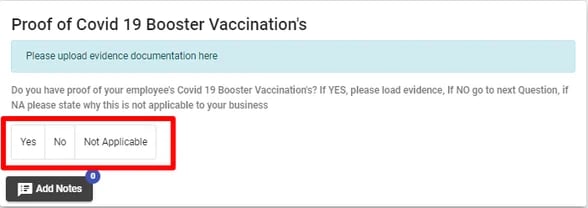
For each item click on Yes, No or Not Applicable
Use your mouse or the scroll bar on the right-hand side to scroll through the list of items
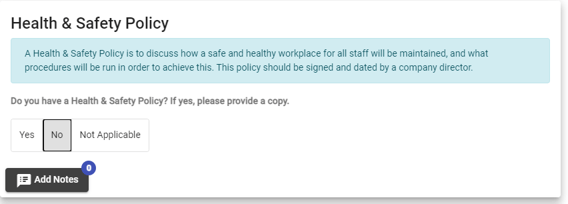
When you click on No or Not Applicable you will not be required to enter any further information. However, you can make notes by clicking on Add Notes.
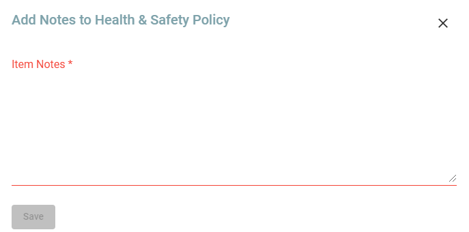
A dialog box will open. You can free text any notes you wish to make and then click on Save.
When you click on Yes you will be given the option to upload file(s). Click on Add File. You can add as many files as you like. These files will then be listed in this dialog box. You will also be able to Add Notes to this as well

Your browser will open allowing you to choose the relevant file. Once you have chosen the file you wish to upload the below Upload button in pink will show.
Click on the Upload button. The file will upload and you will be able to see the details of the file you have uploaded.
Keep following this same process until you have completed all requested items.
You can also set an expiry date for each item by clicking on the Expiry calendar in the bottom right-hand side of the screen.
To delete a file click on the Rubbish Bin icon on the right-hand side and this will remove the file.
Once you have uploaded all of your documents you can scroll down and click the SUBMIT button at the very bottom of the tab.

This will notify your the PCBU that your documents have been submitted and they can then go in and review and approve these.
Uploading Pre Qualification documents through the Web Portal
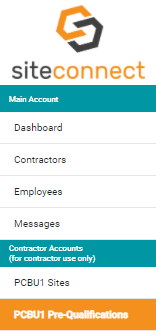
Log in to the SiteConnect Web Portal and click on the PCBU1 Pre-Qualifications Tab in the Main menu
A list of any pre-qualifications you have been requested to complete by your PCBU1's will show. Click on Edit on the right-hand side of the pre-qualification you wish to complete.

A dialog box will appear with a list of the items that you are required to complete.
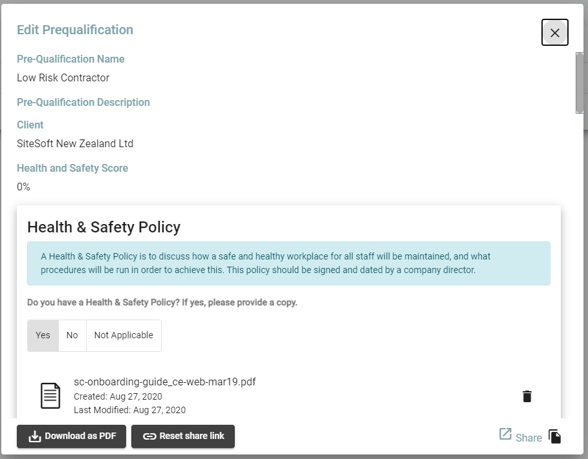
For each item click on Yes, No or Not Applicable
Use your mouse or the scroll bar on the right-hand side to scroll through the list of items
.webp?width=589&height=208&name=Incomplete%20Pre%20qual%20item%20(1).webp)
When you click on No or Not Applicable you will not be required to enter any further information. However, you can make notes by clicking on Add Notes.
A dialog box will open. You can free text any notes you wish to make and then click on Save.
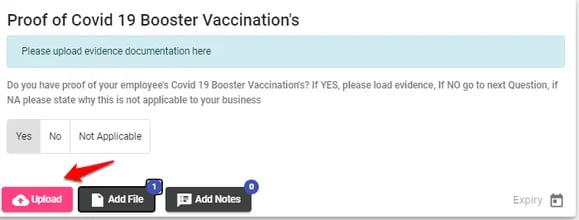
When you click on Yes you will be given the option to upload file(s). Click on Add File. You can add as many files as you like. These files will then be listed in this dialog box. You will also be able to Add Notes to this as well.
.webp?width=555&height=209&name=Add%20files%20pre%20qual%20(2).webp)
Your browser will open allowing you to choose the relevant file. Once you have chosen the file you wish to upload the below Upload button in pink will show.
.webp?width=579&height=220&name=Upload%20Pre%20qual%20item%20(1).webp)
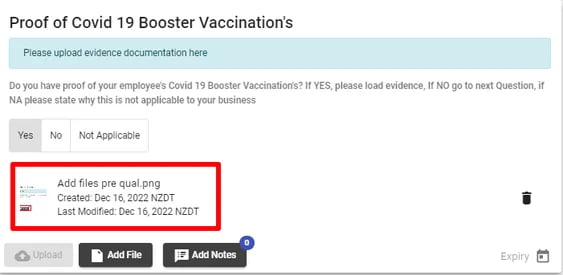
Click on the Upload button. The file will upload and you will be able to see the details of the file you have uploaded.
.webp?width=563&height=275&name=Files%20uploaded%20(1).webp)
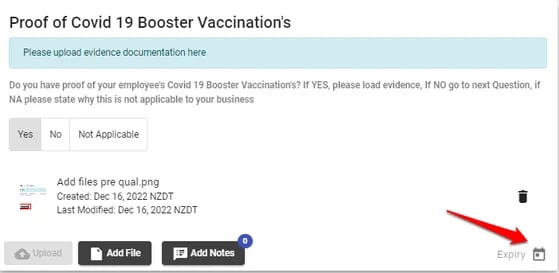
You can also set an expiry date for each item by clicking on the Expiry calendar in the bottom right-hand side of the screen.
.webp?width=559&height=273&name=Expiry%20pre%20qual%20(1).webp)
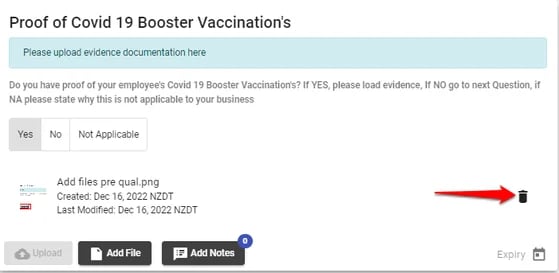
To delete a file click on the Rubbish Bin icon on the right-hand side and this will remove the file.
.webp?width=559&height=273&name=Pre%20qual%20bin%20icon%20(1).webp)
Keep following this same process until you have completed all requested items.
Once you have uploaded all of your documents you can scroll down and click the SUBMIT button at the very bottom of the tab.
How to download a PDF document of your Pre-Qualification
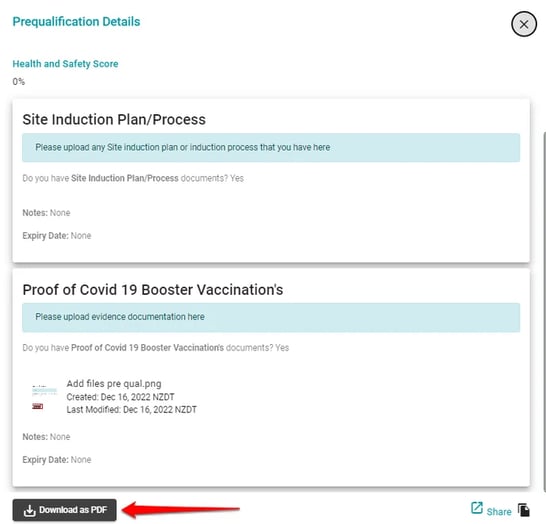
Go to your list of Pre-qualifications and click on View on the right-hand side

Then click on Download as PDF in the bottom left-hand corner
Look for the PDF generated document which will generally download in the bottom left-hand corner of your screen.

For any SiteConnect issues or questions, please contact us at support@siteconnect.io or call us on 0800 748 763 (NZ) or 1800136089 (Australia)