Index:
- Creating an individual Pre-Qual by Contractor
- Creating a Pre-Qual template
- Assigning a Pre-Qual template to a Contractor
- Reviewing and assessing a Pre-Qual request
- How to delete a Pre-Qual request
Please watch the following three videos on how to create and assign Pre Qualifications in the SiteConnect Web portal:
Creating Pre Qualification Templates (4:20)
Creating an Individual Pre Qualification for a Contractor (2:25)
Assigning pre made Pre Qualification Templates (2:19)
Pre-qualifications can be set up either individually by Contractor or by creating Pre-qualification templates
If you still require further assistance then please read on...
Creating an individual Pre-Qual by Contractor
To create an individual Pre-Qual by contractor go to the Contractors Tab on the Main Menu
.webp?width=216&height=298&name=Contractors%20side%20menu-1%20(1).webp)
Then click Edit on the Contractor that you want to apply this to.
.webp?width=670&height=64&name=Edit%20contractor-1%20(1).webp)
Click on the Pre-Qualifications tab on the right hand side.
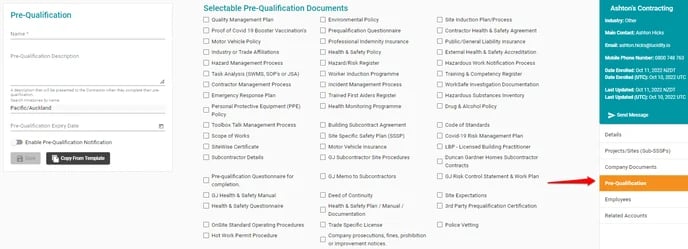
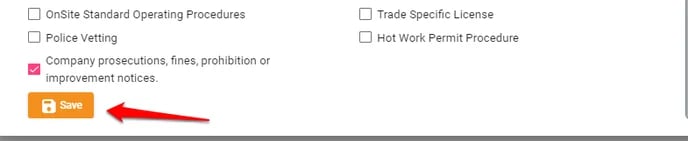
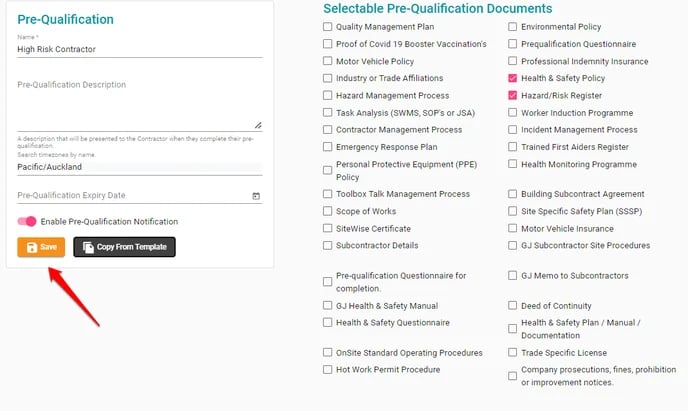
This will bring up the list of Pre-Qualification items that you can manually select from. Click in the box next to each item you want to select.
You can select as many items as you want. If you can't find an item then please contact our support team on siteconnectsupport@sitesoft.com and we can add it to the list for you.
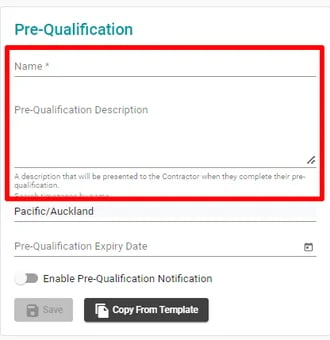
Once you have selected the items you want then Name the Pre-Qualification and give it a description.
You can also set a Pre-Qualification Expiry Date. By setting a date here you will be notified 28 & 7 days out of that Pre-Qualification expiring (the Contractor is NOT notified). This gives you the ability to do an overall review of the contractors pre-qualification to ensure everything is order.
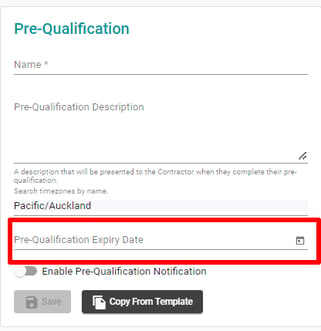
Set the Pre-Qualification Expiry Date in line with the Contractor's insurance documents expiring so you can review your contractors' Pre-Quals at differing times throughout the year instead of being hit with them all at once.
You can also choose to Enable Pre Qualification notifications by toggling this option to on, which will notify the Contractors when the Pre-Qual has been assigned to them with a link to complete the Pre-Qual. If you leave this toggled off then the contractor will not receive a notification and it is deemed that you will upload the documents for them.

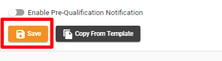
Once all the information has been entered click on Save.
Click here for instructions on how to Review and Assess a Pre-Qual Request
Creating a Pre-Qual template
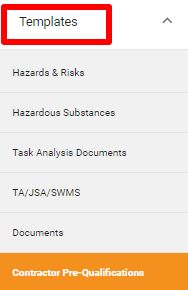
Click the Templates drop down in the Main Menu on the left hand side, then scroll down and click on Contractor Pre Qualifications.
From here, you can create your Pre-Qualification templates that can then be assigned to your contractors. To create a template click on Add Template.

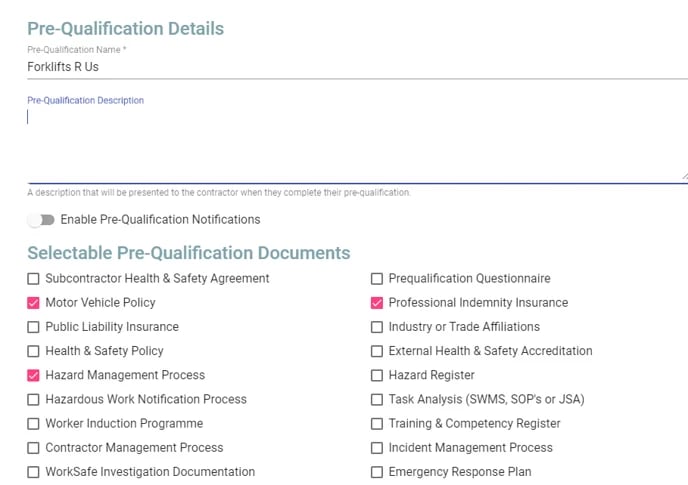
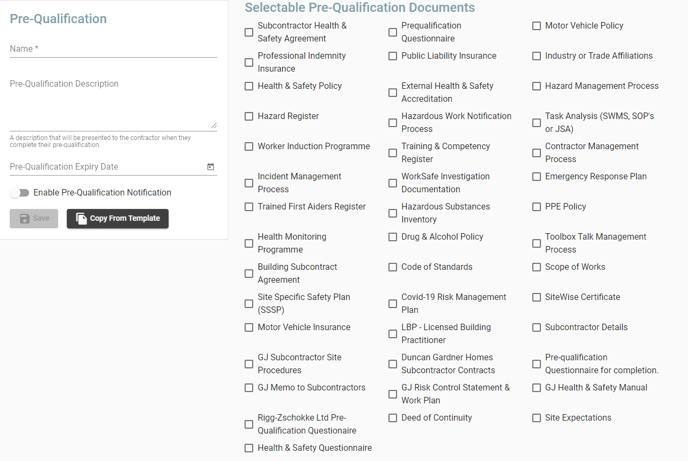
The below Pre-Qualifications Details dialog box will appear. Enter the Name of the Pre -Qualification, i.e. your company name, provide a brief description which will be visible to the Contractors (optional)and select the appropriate Pre-Qualification items.
You can create different levels of Pre-Quals for lower and higher risk contractors, i.e. Low Risk Pre-Qual you might selected 5 items and for a High Risk Pre-Qual you might select 10 items. You can then assign the applicable Pre-Qual to the relevant contractors.
You can also choose to Enable Pre Qualification notifications by toggling this option to on, which will notify the Contractors when the Pre-Qual has been assigned to them with a link to complete the Pre-Qual. If you leave this toggled off then the contractor will not receive a notification and is deemed that you will upload the documents for them.
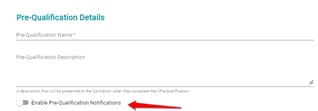
By toggling Enable Pre-Qualification notifications on this will also enable the system to send email notifications to the contractor advising them when documents are expiring. They will receive notifications 28 & 7 days out of the document expiring, on the day of expiry and 7 & 28 days after expiry if the document hasn't been renewed and the expiry date reset.
Once you are have selected all the relevant items, scroll down and click on Save.
This Pre-Qual template will then appear in the Pre-Qualifications Template list ready to be used and assigned to your contractors.

You can also enable the Default and Send Initial Notifications features from this page
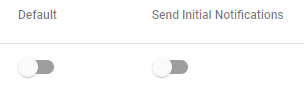
Default- This becomes the Default Pre Qualification criteria for all of your future Contractors. This will automatically allocate the Pre-Qual to any new Contractors that you load into the system.
Send Initial Notifications- If you also have Send Initial Notifications turned on then they will receive an email notifying them of the Pre-Qual request and a link to complete the Pre-Qual.
Assigning a Pre Qual template to a Contractor
To assign a Pre Qual template to a contractor you need to go to the Contractors Tab in the Main Menu on the left hand side of the web portal.
.webp?width=216&height=298&name=Contractors%20side%20menu-1%20(2).webp)
Then click Edit on the Contractor that you want to apply this to.
.webp?width=688&height=66&name=Edit%20contractor-1%20(2).webp)
Click on the Pre-Qualifications tab on the right hand side.
.webp?width=688&height=249&name=Pre%20quals%20editing%20contractor%20(1).webp)
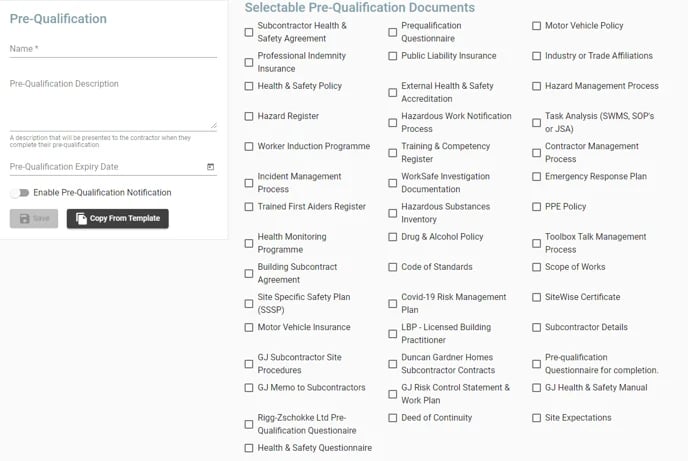
This will bring up the list of Pre-Qualification items that you can manually select from.
You can either tick items from the list or select the templates that you have created.
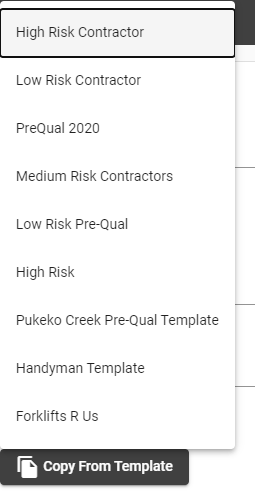
To select a template click on Copy From Template.
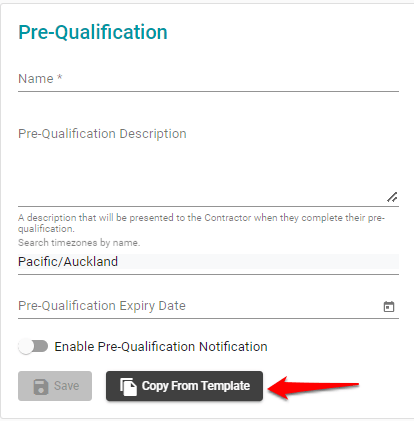
This will bring up a list of your existing templates. Click on the one that you want to apply.
The selected items that you chose when creating the template will be ticked. Click on Save in order to apply this template to the selected Contractor.
If you have already selected Enable Pre-Qualification notifications when creating the template then this will automatically be toggled on. If not and you want to send notifications to the Contractor then you will need to toggle this on.
You can also set a Pre-Qualification Expiry Date. By setting a date here you will be notified 28 & 7 days out of that Pre-Qualification expiring (the Contractor is NOT notified). This gives you the ability to do an overall review of the contractors pre-qualification to ensure everything is order.
.webp?width=321&height=331&name=Pre%20qual%20expiry%20date%20(1).webp)
Set the Pre-Qualification Expiry Date in line with the Contractor's insurance documents expiring so you can review your contractors' Pre-Quals at differing times throughout the year instead of being hit with them all at once.
Reviewing and Assessing a Pre-Qual Request
Once you click on Save the format of the Pre-Qual will change as pre the below screen shot. You will be able to view their H&S score, which is based on the number of stars allocated to each item. You will also be able to View, Edit, Approve and Reject each pre-qual item.
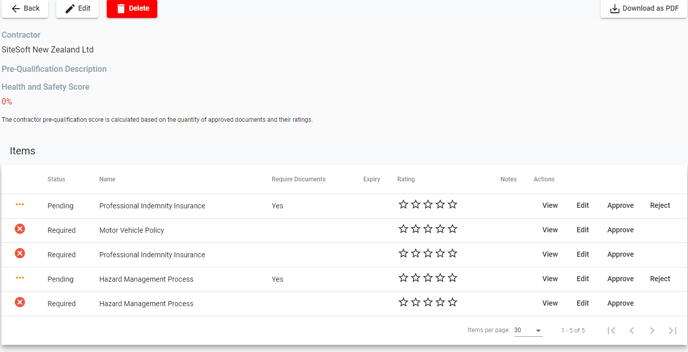
All items will initially be marked as Required. Once your contractors start responding to the Pre-Qual request the status will change to Pending. You can then go and review these items and either Approve or Reject them.
If you Approve an item it will change to an Approved Status.
If you Reject an item it will change back to a Required Status. The contractor will NOT be advised that you have rejected this item so you will need to make contact with the Contractor by other means to advise them of the rejection and what you require from them.
You can also click on View on any Pre-Qual item to view any documents that have been submitted or any notes made by the contractor.
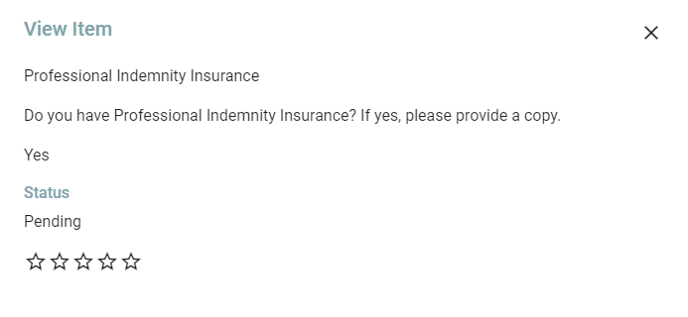
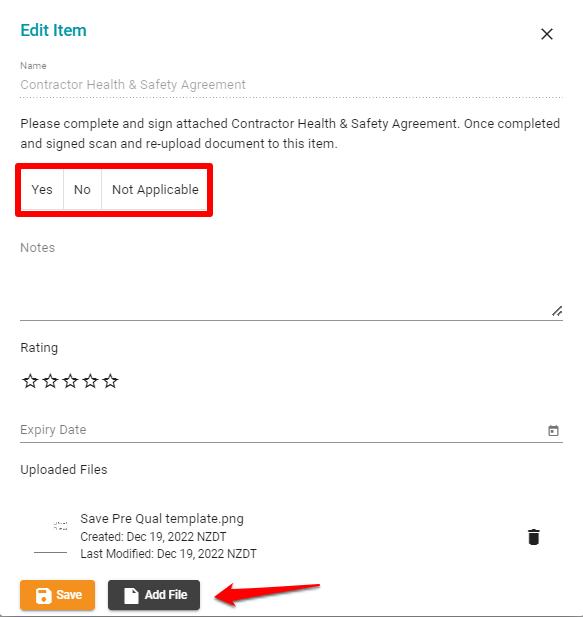
Once you click on Edit for any Pre-Qual Item you will be able to view any information supplied by the Contractor and make changes yourself.
For each item the Contractor can:
- Respond with Yes, No or Not Applicable. You can change these if you don't feel the answer chosen is correct. If Not Applicable is chosen then the 5 star rating will not apply to that item and will not be calculated in the final H & S Score.
- Notes - the Contractor and you can make notes in relation to the Pre-Qual item which you can both view.
- Rating - you can rate the document from 1 Star (poor) to 5 Stars (excellent) for each item. The H & S score will be calculated based on the number of Stars given.
- Expiry Date - the expiry date can be set by the contractor or yourself. When an expiry date is selected and if notifications are turned on then both you and the contractor will receive email reminders that the document is expiring 28 & 7 days out, on the day of expiry and 7 & 28 days after the expiry date if the document has not been renewed and the expiry date updated.
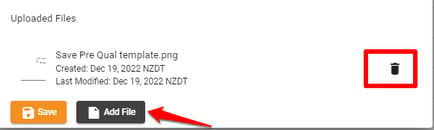
- Add File - the Contractor and you can upload files that are viewable to you both by clicking on the Add File button, selecting the document(s) and then clicking on Save. You can also delete a file by clicking on the Rubbish bin icon.
Don't forget to click on Save when any changes are made
Once you have reviewed an item you can then either Approve or Reject it.
![]()
If you Reject a Pre-Qual item from a contractor, this will revert back to Required status. This WILL NOT notify the contractor so you will need to contact them directly.
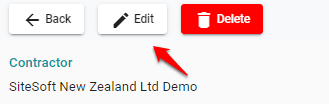
You can also edit the Pre-Qual if you want to change the criteria for this company or add any more requirements for this Pre-Qual by clicking Edit at the top of the screen.
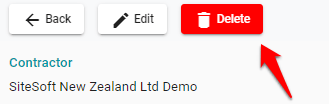
How to Delete a Pre-Qual Request
You can also Delete the Pre Qual entirely and start from scratch.
If you need any further help or have any questions please contact the support team by email at siteconnectsupport@sitesoft.com or Ph: 0800 748763