Index:
- How to create a Noticeboard message
- How to format and utilise the tools available in creating your Noticeboard Message
Please see the below video on how to create a Noticeboard message for a Site in the web portal:
Please note that the Sites function on the left hand side is now called Projects.
Creating Noticeboard Messages (1:53)
If you still need more assistance then please keep on reading...
How to create a Noticeboard message
To create a Noticeboard message you need to click on Sites on the left-hand side of the main menu. Once you have clicked on Sites you will be presented with a list of sites that have been added to the software. Choose the site you wish to create a Noticeboard message for and click on Edit on the right-hand side.

This will take you to the site you have chosen. The name and details of the site will show in the blue box on the right-hand side. Below the blue you will find a list of tabs chose and click on the Noticeboard tab.

This will open the a Free Text screen where you can enter the information you require including inserting tables and picture and creating links to Websites & Email addresses.
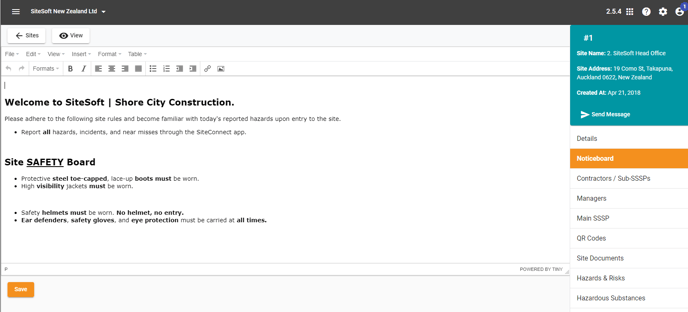
How to format and utilise the tools available in creating your Noticeboard Message
- Undo/Redo - if you make a mistake you can click on the undo or redo button to delete or reinstate information entered.

- Formats - you can format your text either by using the Formats drop down button or the icons.
 Headings - change the size of your heading
Inline - bold, italic, underline, strikethrough, Superscript, Subscript or code your text
Blocks - paragraph, blockquote, div or pre your text
Alignment - align your text left, right, center or justify
Create a bullet list
Create a numbered list
Indent increase or decrease
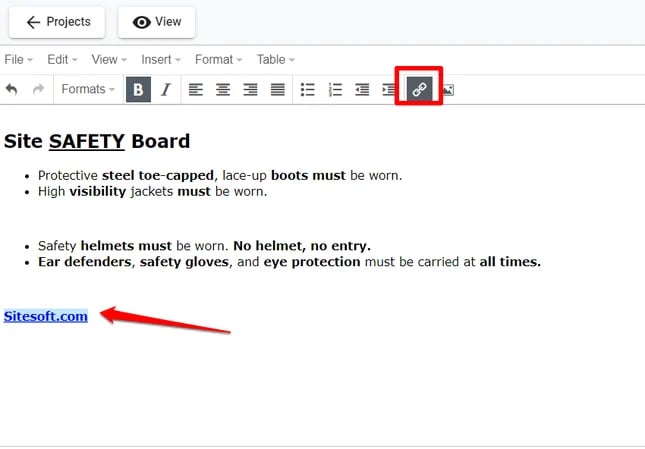
- Link - you can link to Websites or Email addresses
![]() Click on the Link Icon and this will open up a dialog box
Click on the Link Icon and this will open up a dialog box
URL - If you want to link a Website enter the Website address in the URL box, i.e. app.sitesoft.com. If you want to enter an email address enter mailto: followed by the email address, i.e. mailto: support@sitesoft.com
Text to display - enter the text you want the user to see in the Noticeboard, i.e. Sitesoft Website, which will be displayed as follows:
Title - is what you want to name this link. This is NOT displayed on the Noticeboard Message.
Target - click on the drop down arrow and you are given the option for the link to be automatically opened in a new window by clicking on New Window or if you chose None the user will need to click on the link on their task bar to open the Website.
- Insert an Image/Picture
![]() Click on the Image icon and this will open up a dialog box
Click on the Image icon and this will open up a dialog box
Enter in the Source box the address of the image you wish to upload, i.e. if the image is saved in the Documents Templates in SiteConnect open the document & click on the link to the file. Once the link opens copy and paste the link into the Source box. Enter the image description name, i.e. SiteConnect logo.

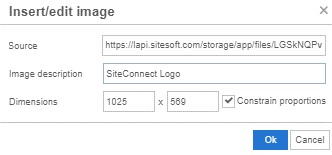
The image will appear in the Noticeboard screen. You can change the size of the image by dragging on the coordinate points.
If you need any further help or have any questions please contact the support team by email siteconnectsupport@sitesoft.com or Ph: 0800 748 763